Your Cart is Empty
With you for the Journey - Personalised jewellery to treasure forever
Fully Booked and Closed for Christmas 2023
Menu
-
- Dainty Fingerprints
- Small Fingerprints
- Petite Fingerprints
- Large Fingerprints
- Fingerprint Rings
- Engraved Fingerprints
- Other Jewellery and Gifts
- Dainty Fingerprint Necklaces
- Small Fingerprint Necklaces
- Petite Fingerprint Necklaces
- Large Fingerprint Necklaces
- Fingerprint Earrings
- Engraved Fingerprints and Thumbprints
- Special Commissions
- Fingerprint Charm Beads
- Fingerprint Cufflinks and Dog Tags
- Unique Personalised Gifts
- Chains and Bracelets
- Impression Kits
- Gift vouchers
-
- Ashes & Memorial Jewellery
- Design Service
- Diamonds & Gemstones
- Engraving
- Contact Us
- 01440 510 050
- Login
With you for the Journey - Personalised jewellery to treasure forever
Fully Booked and Closed for Christmas 2023

How to Untangle Your Necklace Chains (and correctly store them)
October 19, 2020 4 min read
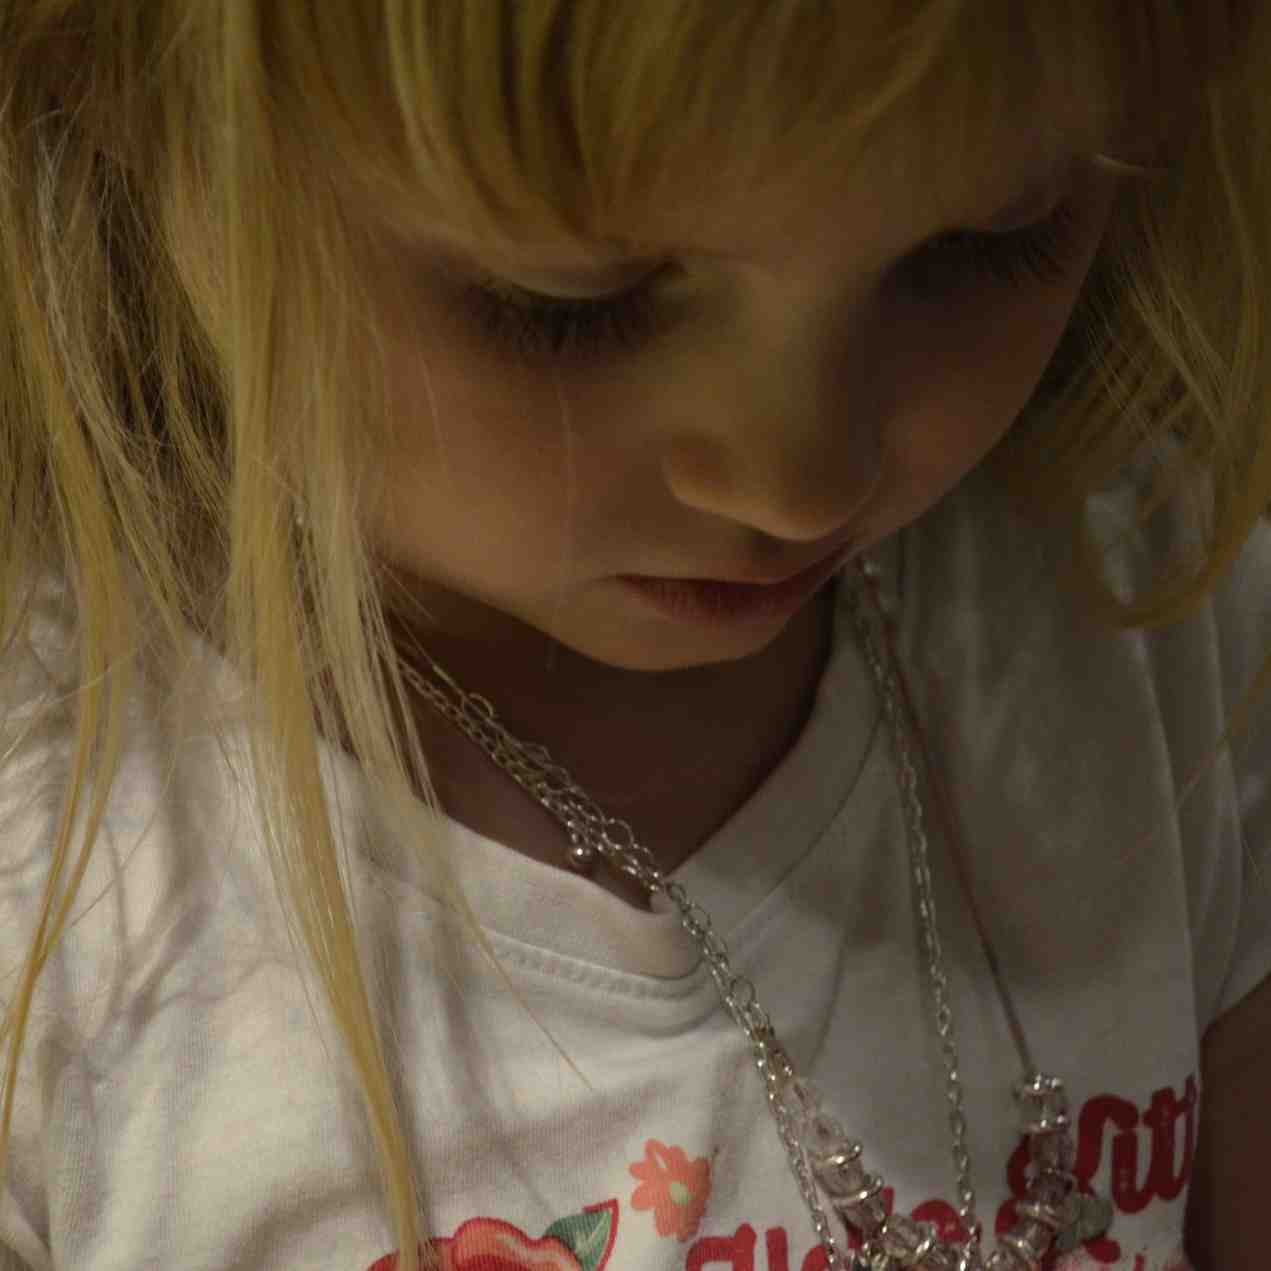
At the bottom of a store cupboard upstairs, buried underneath bags of photograph albums and other assorted "stuff that cannot be thrown away ever" is an old-fashioned jewellery box that my Grandmother gave me when I was a child.
The jewellery box itself has no intrinsic value. It most probably came from Argos and I don’t use it for it’s intended purpose anymore. I more keep it because she gave it to me and because it reminds me of her.
It’s a miniature wooden wardrobe with two decorative glass doors at the front. It has a small wooden draw underneath and several velveteen compartments inside that hold all manner of earrings, bracelets and necklace chains.
There’s an old charm bracelet, a few mood rings from school trips and a few random solitary earrings (for the life of me, I don’t know why I’ve kept those).
There were also a number of extremely tangled necklace chains with pretty charms attached and, as my daughter expressed an interest, I decided to try and untangle them for her.
Now, I’m not sure if you’ve ever attempted to untangle fine, delicate chains before, but it’s not for the faint of heart.
It can take HOURS and one wrong tug and you've ruined the lot.
Luckily, there are a few tips and tricks I’ve picked up over the years which could save you a lot of cursing and swearing, and could possibly save chains that are destined for the recycling bin.
All you will really need is a little baby powder, a paper bag (or plastic sandwich bag), a safety pin and some patience.
* If you don’t want talcum powder everywhere, you can work over a clean towel.
Method:
- Imagine your tangled necklace chain is a string of knotted Christmas fairy lights (or multiple strings of knotted fairy lights) – it’s always a lot easier to untangle them if you can find the free ends.
Remove any pendants or charms and undo the clasps.
- Place your necklace chains into the paper bag and cover with baby powder (talcum powder).
- Give the bag a good shake around, making sure that every single necklace chain link is well coated.
- Remove from the bag and find one free chain end. Start to undo any knots at this end first.
The baby powder clings to the metal and will help the chain links to slide over each other, making unknotting the chain a lot easier. You may even find your tangled chains will come apart with no more than a gentle tug.
- If you come across any particularly stubborn knots, take your safety pin and very carefully try to loosen them – But be very gentle when using your safety pin. Don’t pull to hard or you may end up with misshapen chain links, or worse! Broken chains.
- Don’t give up. The baby powder isn’t an instant magic solution. You’ll still need time and patience.
- Once untangled, simply remove any excess baby powder using warm soapy water and lay out to completely dry on a soft towel or jewellery polishing cloth.
- Re-attach any pendants or charms.
Once untangled, you will want to store your chains so they never get into tangled knots ever again, so here are a few ideas………………………….
1. Store them in a fabric jewellery roll (which are purpose made for the job).
2. Hang them up on hooks – You can buy a purpose-made jewellery tree or alternatively, use a coat rack or one of those mug/cup trees.
3. Store them separately in small paper sweet bags (fastened at the top with a paper clip or bulldog clip) or resealable plastic Ziplock bags. These come in really tiny sizes which reduces the chance of tangling again.
If you want to also protect your chains from tarnish, pop an anti-tarnish storage strip into the bag alongside your chain (Town Talk sell them amongst others).
4. Store them in a craft box, or tablet/pill box with small, separate compartments.
5. Wrap the chains around the bottom of a coat hanger and hang them up with your clothes.
6. Use an empty kitchen roll tube. Open the clasp on your necklace chain, thread through the inside of the tube. Cut the tube to the right length so that you can re-fasten the clasp on the chain.
7. You could also use kitchen roll tubes to store multiple necklace chains. Make small cuts at both ends of the kitchen toll tube. Slip the chain into these cuts to hold the chains in place.
8. Wrap them up in a handkerchief, clean cloth or duster – or even better, a jewellery polishing cloth. Simply lay the chain flat along one side of the cloth and roll.
9. Pin them up onto a cork or memo board using drawing pins (you can get some really pretty decorative ones) or similarly, hang them onto a pegboard. I have several from Ikea that I use to hang up my tools, but you can also find them in craft stores like Hobbycraft.
10. Drinking straws. By far my favourite method because one, there is absolutely no way your chains can re-tangle using this method and two, because they doesn’t take up a lot of space.
I prefer paper straws as they are more flexible, plus, they’re also biodegradable, but anything will do.
The only drawback, is that depending on the necklace design, you may have to remove charms from the chain and store these separately.
Like with the kitchen roll method, open the clasp on your necklace chain, thread through the inside of the straw. Cut the straw to the right length and re-fasten the clasp on the chain.
*Once safely threaded through the straws, place the chains into a small bag with an anti-tarnish strip for extra protection.
Finally, clear everything away and if you really don’t want to go through the whole palaver again, just don’t ever chuck your necklaces into the bottom of a jewellery box ever again.
And by the way, if you’re the kind of person who travels a lot, these methods don’t just work for storing your necklaces safely at home. They also come in very handy if you want to travel with your jewellery too. They’ll definitely save you losing your necklaces amongst all the clothes in your suitcase.
Leave a comment
Comments will be approved before showing up.
Subscribe
Sign up to get the latest on sales, new releases and more …
Join the Club
WE'RE SO PLEASED TO SEE YOU!
Stay a while and look around.
While you're here, why not subscribe to our newsletter?We'll give you £20 off your first order, VIP access to new products, and access to our very special sample sales.We promise not to annoy you (honest).